Making a character face mask
With our design and technology KS1 lesson plan teaching resource, learners will design and make a character face mask inspired by their favourite book.
Inspired by World Book Day and supporting the development of literacy by making a face mask from paper and card, based on a character from a book. When wearing the mask, learners could imagine that they are exiting their normal reality into the reality created in that literature.
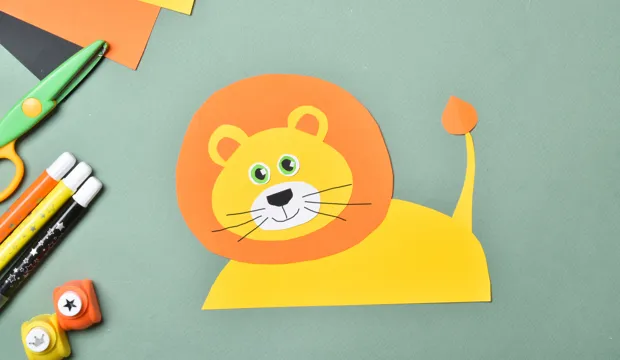
In this classroom activity learners will use the inspiration from a well-known book (The Lion, The Witch, and the Wardrobe) to make a mask representing one of the main characters. For copyright reasons we are not allowed to name the character, although it should be obvious!
This links reading in English, making skills in Design & Technology and the use of Art skills to produce the design.
This teaching resource activity could be used as a main lesson activity, to support learners engagement in literacy. It could also be used as a focussed task to teach learners about how to model and manufacture objects in cardboard safely.
We’ve created this teaching resource design activity to support the delivery of key topics within design & technology (D&T) and engineering.
Activity: Designing and making a mask for World Book Day
Learners will make a lion character mask considering the brief, usability for the young person wearing it and availability of materials.
Tools/supplies needed:
Resources required:
- Paper plate
- Red/Yellow/Orange A4 paper
- String
- Glue
- Stapler
- Scissors
- Pen
- Sticky tape
- Moulding clay or sticky tack
- A selection of books for inspiration
Follow our step-by-step guide on how to make a character face mask
Learners will work individually to make a face mask. The lion from The Lion, The Witch and the Wardrobe has been suggested however the same technique could be used to make other characters (e.g. the wolf from Little Red Riding Hood or a fox from Fantastic Mr Fox).
- Create the muzzle
- Take an orange sheet and fold in half
- Cut a semi-circular shape
- Fold the cut section of the card as shown in the image
- Bend the card so the corner A touches point B
- Bend the card so piece C covers the side you have just bent in – the curves at the bottom should overlap
- Glue it together to hold it in place
- Attach the muzzle to the plate
- Cut flaps along the side where the paper overlaps itself and the two sides this touches (but not on the longest side)
- Try to get all the flaps the same length (2.5 cm long)
- Attach the flaps to the paper plate using sticky tape
- Make space for your mouth
- Cut a V-shape in the plate under the muzzle, as shown
- Make holes for the eyes
- Using the pen, mark where holes for your eyes will be
- Put modelling clay (or sticky tack) on a flat surface and position where you want the eye hole above it
- Pierce the plate – push a sharp pencil through the space inside the marked eye hole into the modelling clay, then repeat for the other eye
- Cut out the eye holes using scissors
- Create the mane
- Take your 3 different coloured sheets of paper
- Tear into strips 3cm wide
- Separate into coloured piles
- Starting with red, glue strips to the edge of the plate to create the mane
- Tear the orange strips a little shorter, then glue these into place
- Repeat with yellow strips – these should be even shorter than the orange ones
- Adding detail
- You could curl the ends of the paper strips using a pencil, to make them more three- dimensional
- Use black pen to draw on the nose, whiskers and any other features you want
- Attach the string
- You are going to attach a piece of string to hold the mask in place
- Using sicky tape, attach the string near to each eye hole
- Remember to check the piece of string is the correct length for your head!
- Your finished mask is ready for World Book Day!
The Engineering Context
Engineering a 3D character face mask involves a combination of artistic creativity, technical skill, and manufacturing expertise to bring the character to life in a wearable form. These are all skills that engineers in many different fields will use when designing and manufacturing prototype products.
Suggested learning outcomes
This resource combines design and technology with Art & Design with the aim that the learners will develop skills in card modelling and be able to construct a 3D model using a variety of different techniques.
Download our activity sheet and other teaching resources
All classroom activity sheets and supporting teaching resources are free to download, and all the documents are fully editable, so you can tailor them to your students’ and your schools’ needs.
The activity sheet includes teachers’ notes, useful web links, and links (where appropriate) to the national curriculum in each of the four devolved nations; England, Northern Ireland, Scotland and Wales.
You can download our step-by-step instructions below as either a classroom lesson plan or PowerPoint presentation.
Please do share your highlights with us @IETeducation.


