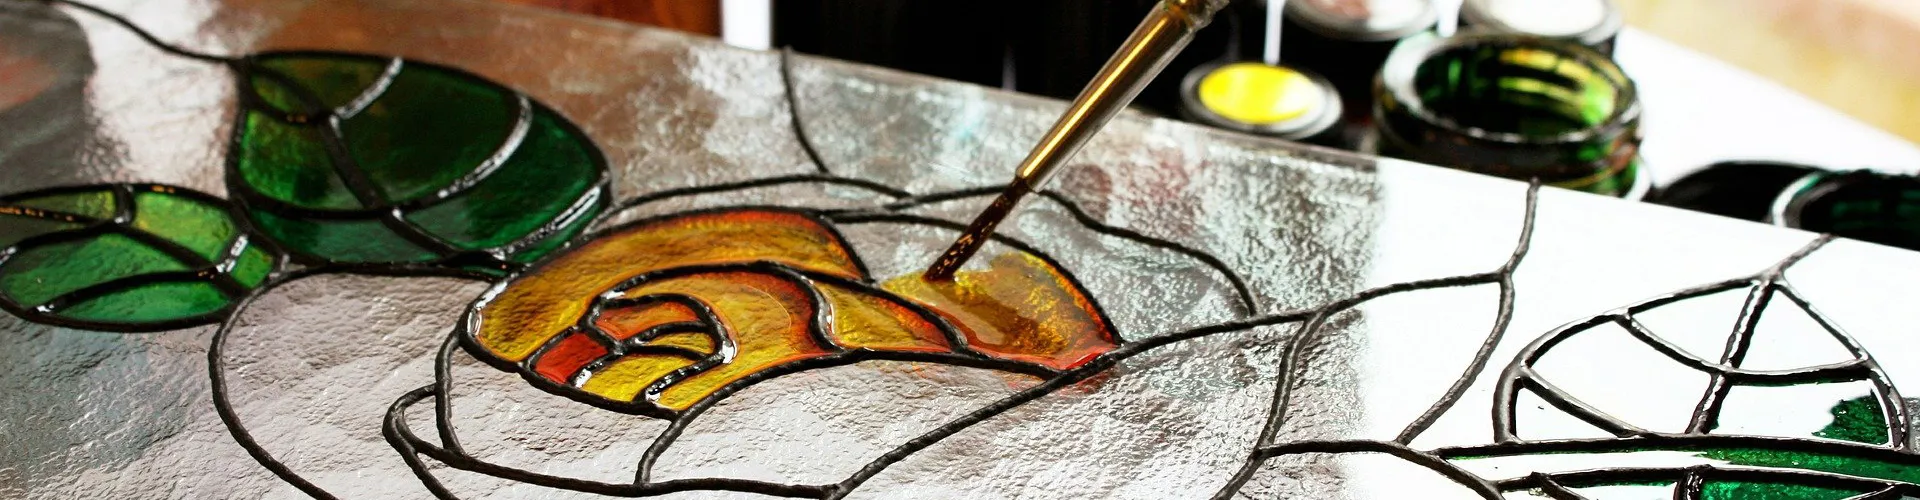
Edible stained glass
A fun and simple science experiment to make colourful stained glass and find out all about light.
Learn how to create colourful, edible stained glass and discover the science of light in this fun experiment for kids.
What ingredients will you need?
• 790g white, granulated sugar
• 475ml water
• 240ml light corn syrup
• ¼ teaspoon cream of tartar
• Food colouring (red or green)
Recipe
Step 1 - First, line a baking tray with baking paper, foil, or a reusable silicone liner. If you don’t have anything to line the tray with, you can use olive oil in a spray.
Step 2 - Pour the sugar, water, corn syrup, cream of tartar and food colouring into a saucepan. You will only need a couple of drops of food colouring. Now slowly turn up the heat and melt the ingredients together.
⚠ Make sure to get some adult help at this stage, as this will get very hot.
Bring the ingredients to the boil and continue stirring so the mixture doesn’t burn.
Step 3 - Now you will need to use the thermometer to measure the heat – it needs to be at 150 degrees Celsius (°C). It is important to ensure the ingredients are 150°C as it will go hard once you have created your stained glass. It will take about an hour for the mixture to reach the desired temperature.
Do not let the temperature go up to 160°C. Otherwise, it will caramelise and be a big, sticky mess!
⚠ Make sure to get some adult help when you do anything with the melted sugar – it is extremely hot!
Step 4 - Once the mixture is up to temperature, carefully take the pan off the heat and very slowly pour the mixture onto the baking tray that you covered with foil or baking paper earlier.
Make sure you pour carefully and slowly, as you don’t want to get any air bubbles in the sugar mixture. Ask an adult to help you. This mixture is very hot, and you do not want to risk getting burned.
⚠ Make sure to get some adult help when pouring the melted sugar.
Step 5 - Now move the tray onto a flat surface so that when the mixture hardens, it will be as smooth as glass.
It will take a minimum of an hour to completely harden, so try not to be tempted to touch it!
Step 6 - When it is completely hard, remove it carefully from the tray. Peel off the foil or baking paper; it is now ready to eat.
You can break it apart to create pieces of edible stained glass.
Download the free Edible stained glass activity sheet below to learn the science behind this experiment!
All activity sheets and supporting resources are free to download, and all the documents are fully editable, so you can tailor them to your students’ and your schools’ needs.
The activity sheet includes teacher notes, guidance, useful web links, and links (where appropriate) to the national curriculum in each of the four devolved UK nations; England, Northern Ireland, Scotland and Wales.
Don’t forget to take photos of your edible stained glass and share them with us @IETeducation.
Available Downloads

Videos
Stained glass you can eat
Science with Bexy shows us how to make edible stained glass.