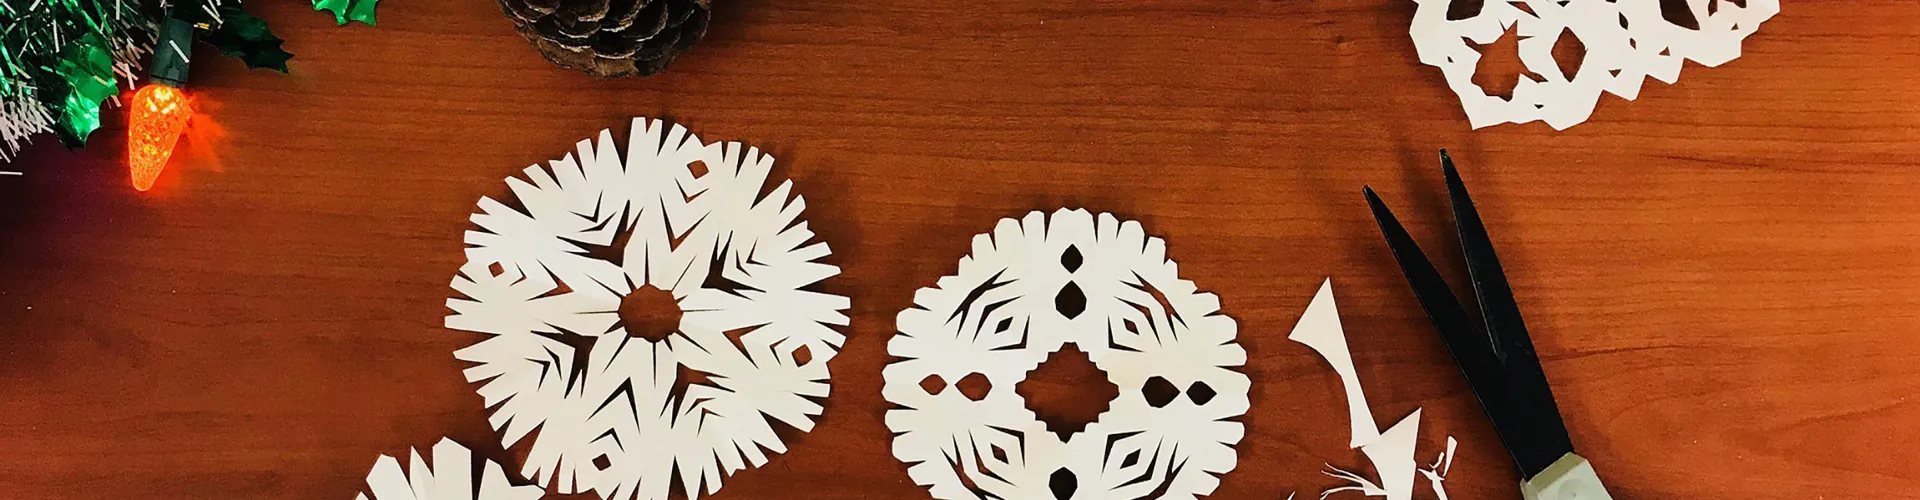
How to make a paper snowflake for kids
Kids can learn the science of snowflakes and make paper snowflake decorations with our DIY Christmas STEM activity.
Making paper snowflakes is a great STEM activity for children, allowing them to express their artistic side while developing practical design skills through cutting and folding.
This snowflake tutorial for kids is an opportunity for them to explore the captivating science behind snowflakes, looking at why they are always flat and have six sides.
Best of all, kids will have their own cut-out paper snowflakes, which they can use to decorate their classroom or home.
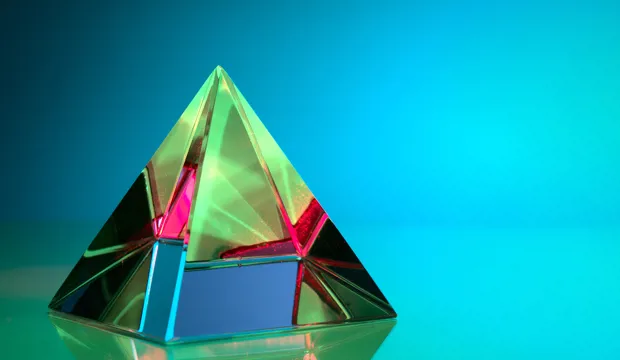
Learn about why snowflakes have six sides with Wilf Wonders
Watch our fantastic Wilf Wonders video below to discover why snowflakes form when the weather gets cold. It’s a great introduction to snowflake science. You’ll be amazed.
Once you’ve absorbed Wilf’s wisdom, download our free step-by-step guide below to making paper snowflakes and give it a go! How many different snowflake patterns can you create? If you’re up for an extra activity, try our word search that uses the words from the experiment.
Download our activity sheet and other teaching resources
All activity sheets and supporting resources are free to download, and all the documents are fully editable, so you can tailor them to your students’ and your schools’ needs.
You can download our pdf step-by-step instructions on how to make a snowflake as a classroom lesson plan, which includes links to videos on the science of snowflakes. Our Powerpoint also includes slides on the science of snowflakes and also has our step-by-step guide on how to design and cut out a snowflake, making it an ideal classroom presentation.
Please do share your handmade paper snowflakes with us on social media on Facebook and Twitter using our #SantaLovesSTEM hashtag.
Available Downloads

Activity overview
How to make a snowflake activity instructions

Presentation
PowerPoint presentation with further information on how to do the activity
Make a snowflake bonus activity wordsearch
Fun bonus activity sheet
Make a snowflake bonus activity wordsearch solution
Answers to the bonus activity sheet